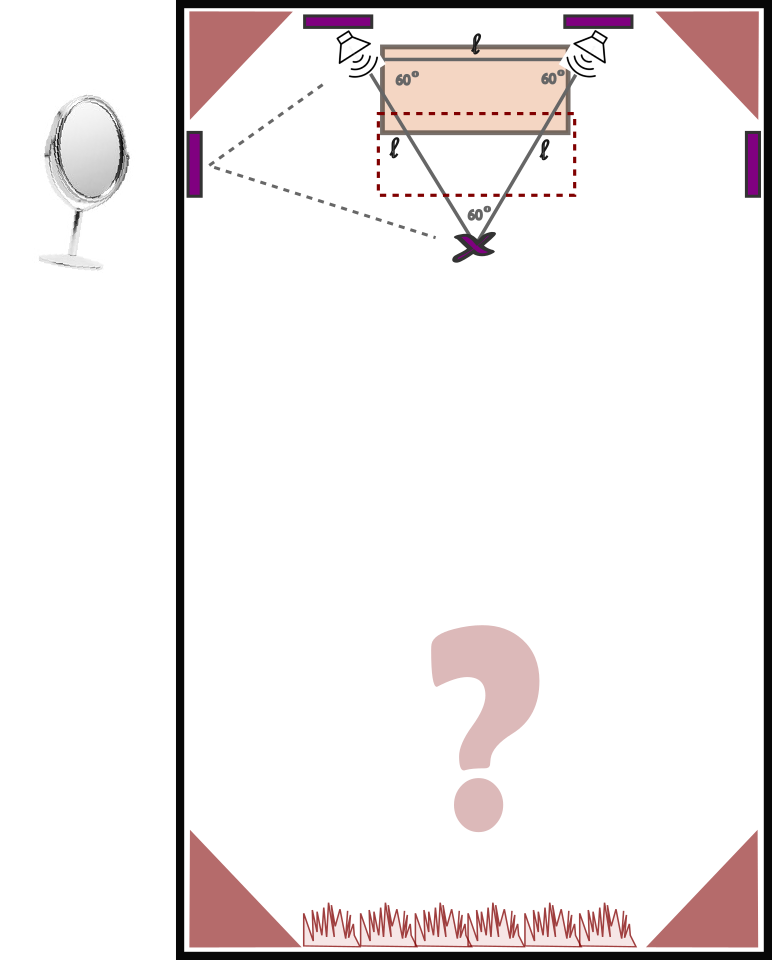
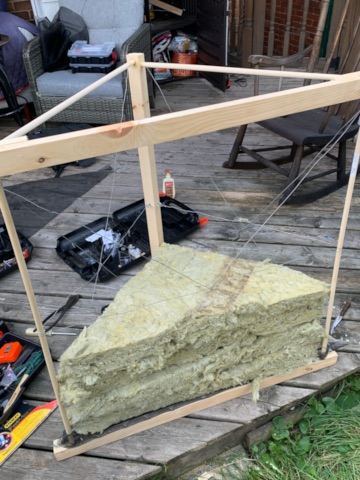
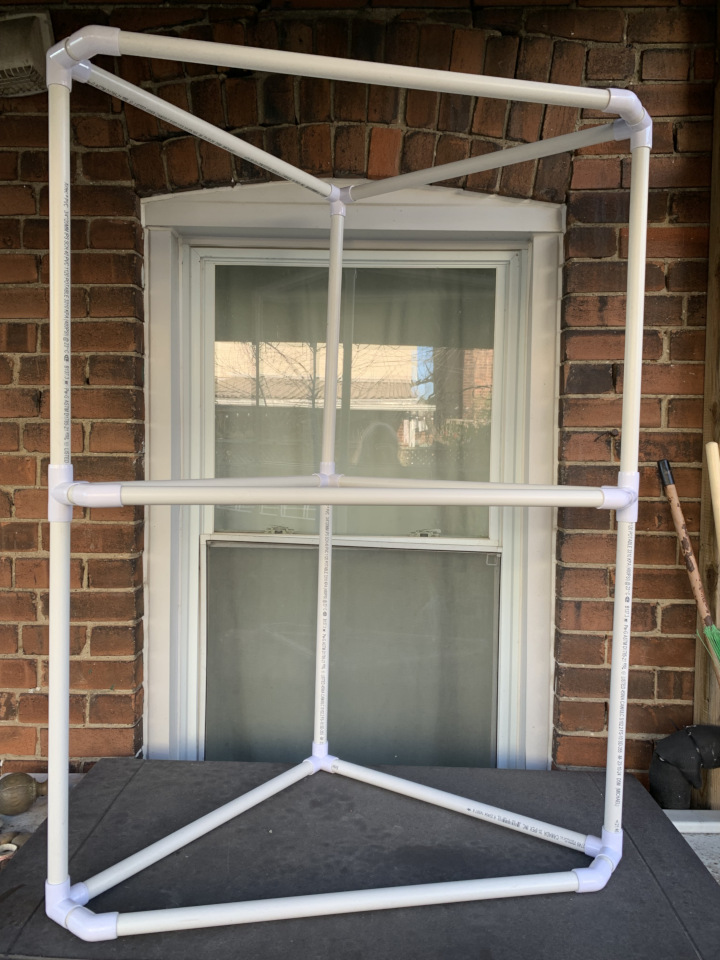
I built my own own panels and traps, and placed them where they do the job I needed done. I used tools like the Room EQ Wizard (REW), the AMROC calculator and the absorption calculators at AcousticModelling.com to find the best listening spot, I identified the problem frequencies in my room, learned the right materials and amounts best suited to those frequencies. Then, with graphs, an app called Decibel X, and a tape measure, I located where to put it to address the unique characteristics of my room. I’ve worked on it two summers in a row.
See those big dips on the left in my graphs? It’s close enough that SonarWorks software makes it flat. But the Quest For Acoustic Truth is an epic one. I must face those dips and tame them, to the very last one.
Before I go further: let me acknowledge Mastering.com and The Reverse Engineer as the source of this, and a great deal more of the information I pay forward here. It’s information you can trust.

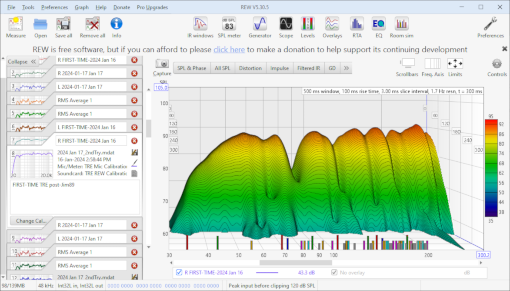
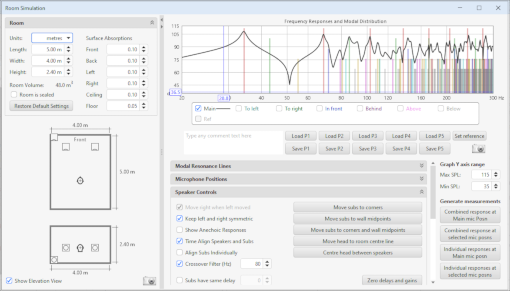
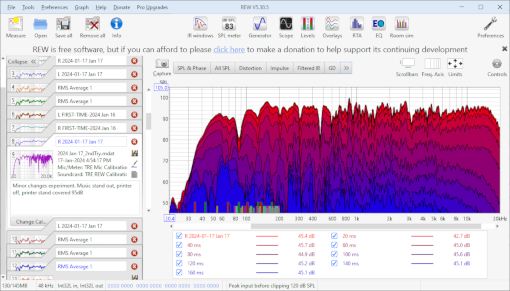
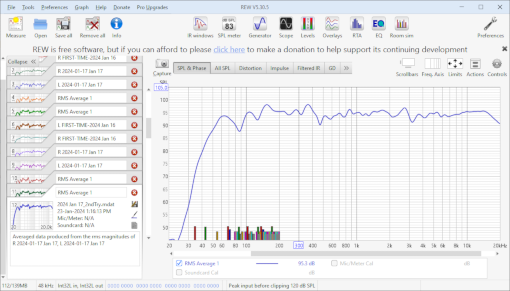
Are we there yet!!??
Don’t set your own room up without talking to me! — Me, to a friend, one time at BandCamp…
I didn’t stop there, oh no, I really dug in, using the REW and SonarWorks.
Find your listening spot!
The Right Steps, in the Right Order
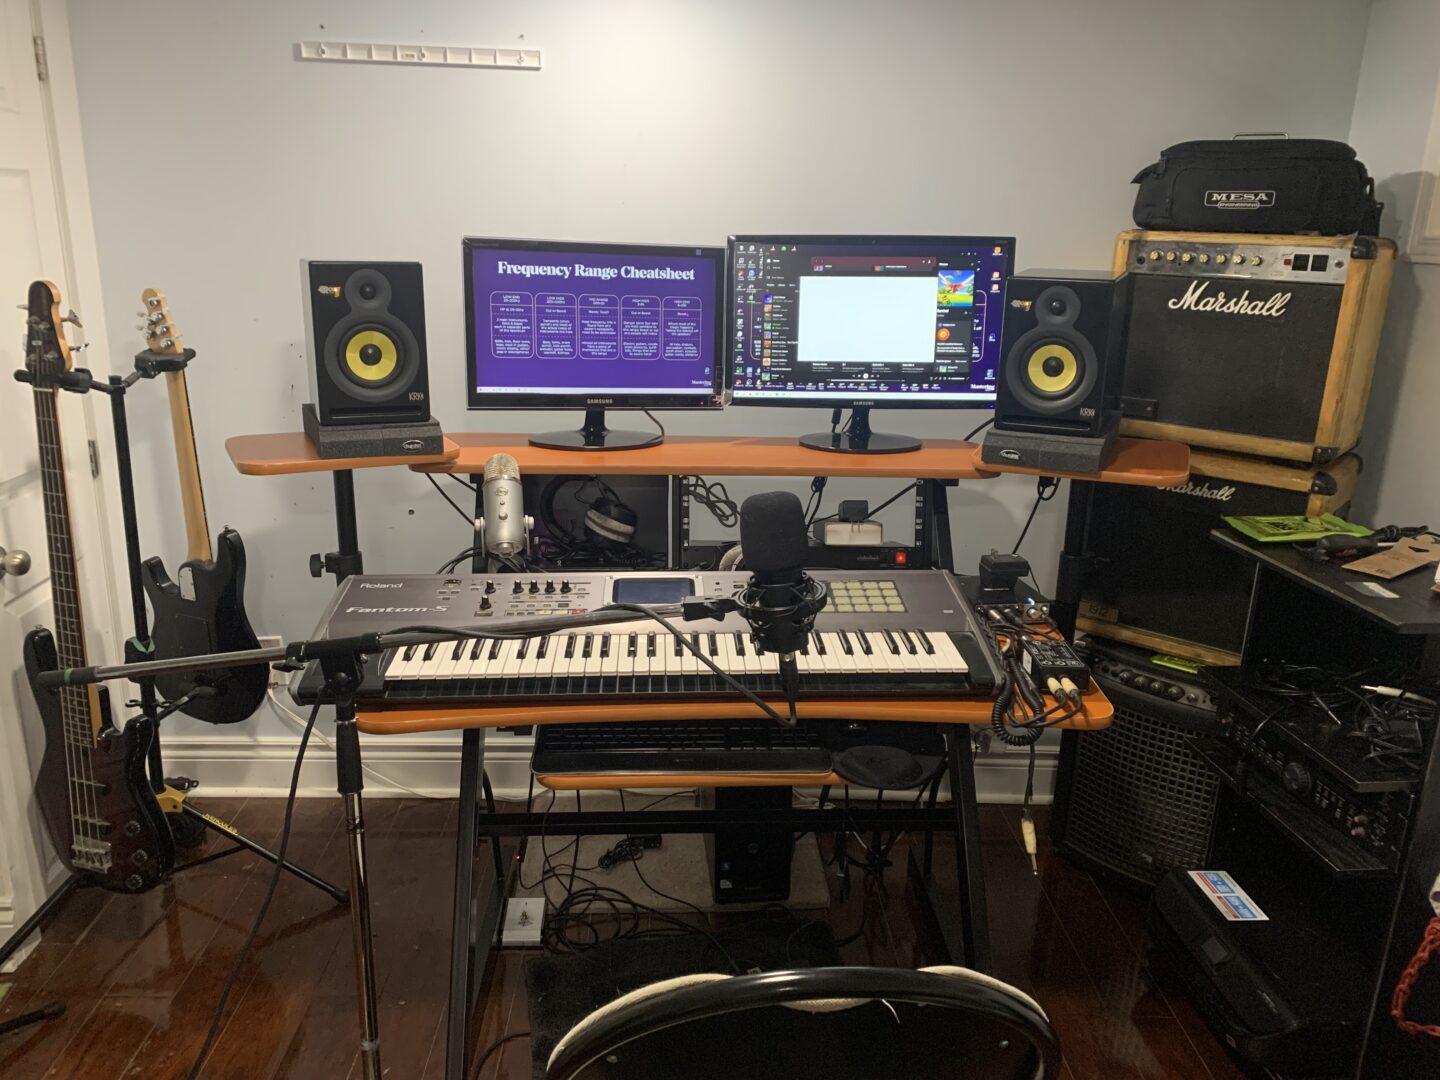
- Placing your desk defines your listening spot. Ideally you can centre it on a short wall, and not right up against the wall. Not every room looks like a shoe box. Everything in and about your room influences what happens to sound waves between your speakers and your ears. Before you choose the headphone-only route…
- Your monitors or speakers should be the same distance from the wall. Don’t put them on any part of your desk that’s not specifically designed for speakers, and put Auralex or similar studio monitor isolation under them, regardless. Buy dedicated stands if the desk doesn’t have something appropriate.
- Measure the distance between your speakers, make an equilateral triangle, and mark the spot! Masking tape works (before you throw a rug over it). From here on in, whether you sit or stand, you’ll spend most of your time with your head on the line that runs from that mark to the ceiling and perpendicular to the floor.
- Now you’re ready for some panels. It’s very near near 100% certain you need side panels and a ceiling cloud. You can use a mirror to find the best placement — it’s where you can see your speakers in the mirror. You’ll probably put something on the walls behind the speakers. I needed to stuff my corners, including ceiling corners, for bass. How did I know that?
- The Room EQ Wizard (REW) tells you what problem frequencies remain at your listening position, and how far away the source is.
- Get a tape measure and SPL (Sound Pressure Level) app for your phone, generate the frequency with REW, hunt it down and kill it. AMROC the Room Mode Calculator can also give you an idea of where to look for and expect specific frequencies, especially if it’s a non-rectangular room.
💪🏼😃
